
티스토리 뷰
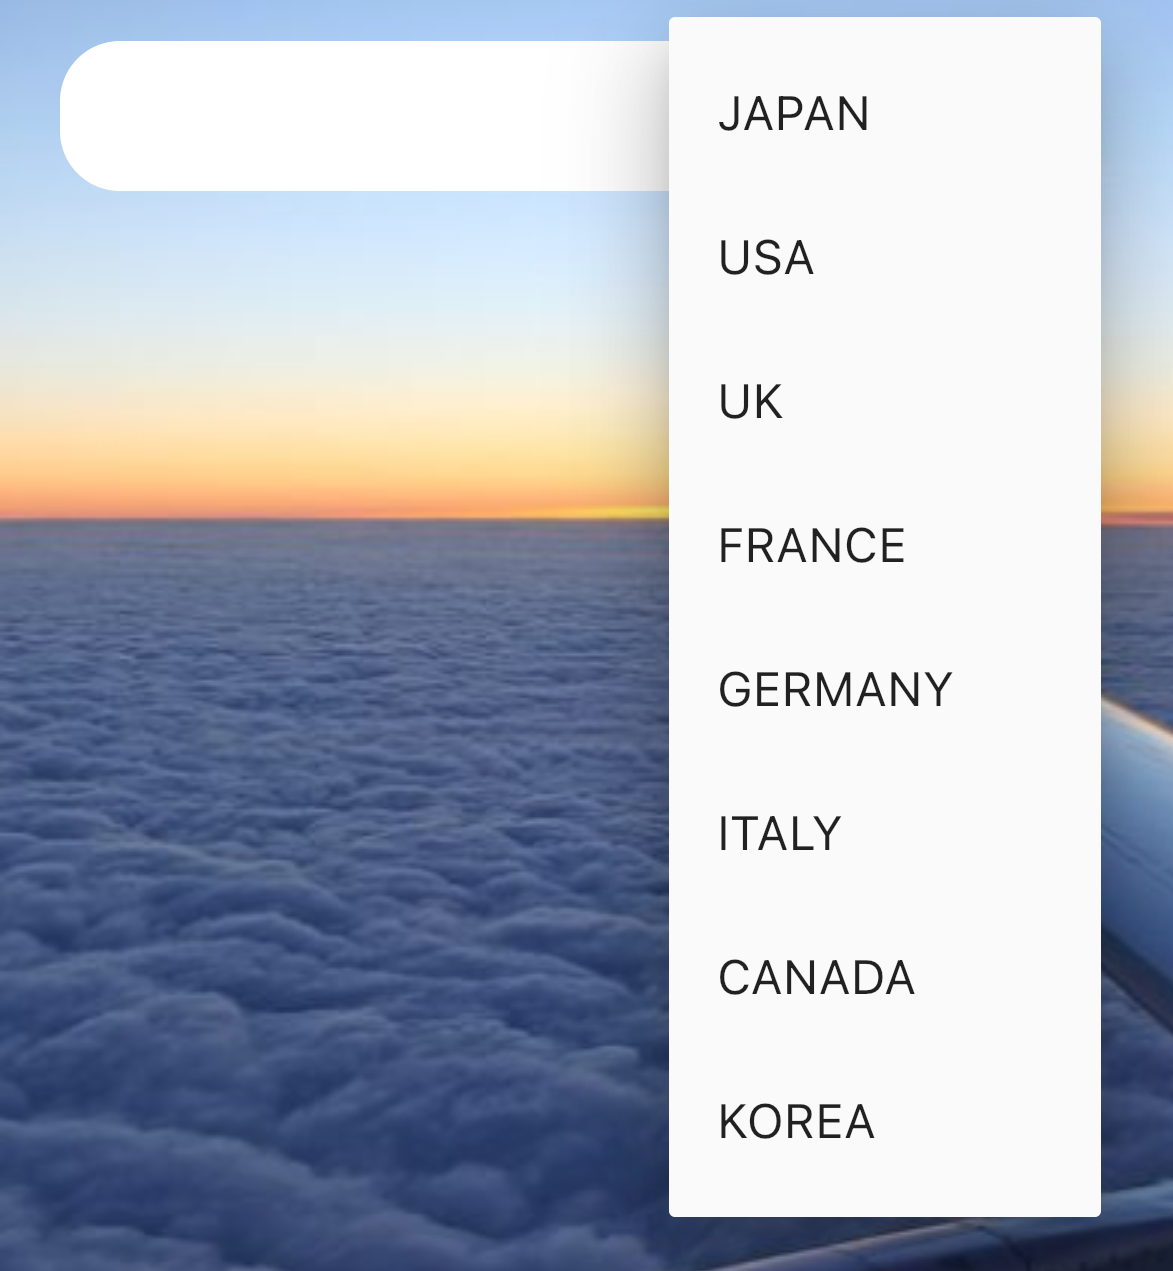
다음으로 만들어 본 것은 DropDownButton이다. DropDownButton을 통해 다음 페이지로 연결 될 수 있도록 페이지를 구성했다.
DropDownButton은 text 바로 밑에 위치하도록 했다.

여기서 문제가 되었던 것은 다른 에뮬레이터로 작동시 컨테이너 박스와 DropDownButton이 분리가 된다는 점이었다🥹
처음에 Positioned 위젯을 사용해서 반응형으로 만들지 못해 분리가 된다고 생각했지만, 위젯 페이지를 분리하는 과정에서 Container 내부에 DropDownButton을 감싸지 못하는 실수가 발생했다.
Widget build(BuildContext context) {
    return Container(
      padding: const EdgeInsets.only(left: 16, right: 16),
      decoration: BoxDecoration(
        color: Colors.white,
        //생략
      ),
      width: 350,
      child: DropdownButton<String>(
        dropdownColor: Colors.white,
        value: dropdownValue,
        items: [
          DropdownMenuItem(
            value: 'JAPAN',
            child: Text(
              'JAPAN',
            ),
          ),

         //생략
onChanged: (String? value) {
          setState(() {
            dropdownValue = value;
          });
          Navigator.push(
            context,
            MaterialPageRoute(
                builder: (context) => // 생략
        },
DropDownMenuItem 내부에 텍스트와 여러 조건들을 지정해주었다.
child에 text를 지정하고, 그에 맞는 value 값을 지정해준다.
DropDownMenuItem 밑에 Onchanged를 통해서 페이지가 넘어가는 것을 구현하였다.
DropDownButton Properties
underline: const SizedBox(),
기본적으로 붙는 underline을 삭제해주기, 컨테이너 박스 내에 DropDownButton이 있기 때문에, ui가 깔끔해보이기 위해서 삭제했다.
isExpanded : true,
width가 꽉차게 조정해주었다.
'개발 > Flutter' 카테고리의 다른 글
| [flutter] 플러터 데이터 관리 - shared_preferences (0) | 2023.09.18 |
|---|---|
| [Flutter] Container와 SizedBox의 차이 (0) | 2023.09.12 |
| [Flutter] 플러터에서 화면이동 하기! (0) | 2023.08.03 |
| [Flutter] 여러 가지 Widget 활용하기 : Stack, Positioned (0) | 2023.05.13 |
| [Flutter] Mac에 Flutter 개발환경 설치하기 (2) | 2023.02.20 |